

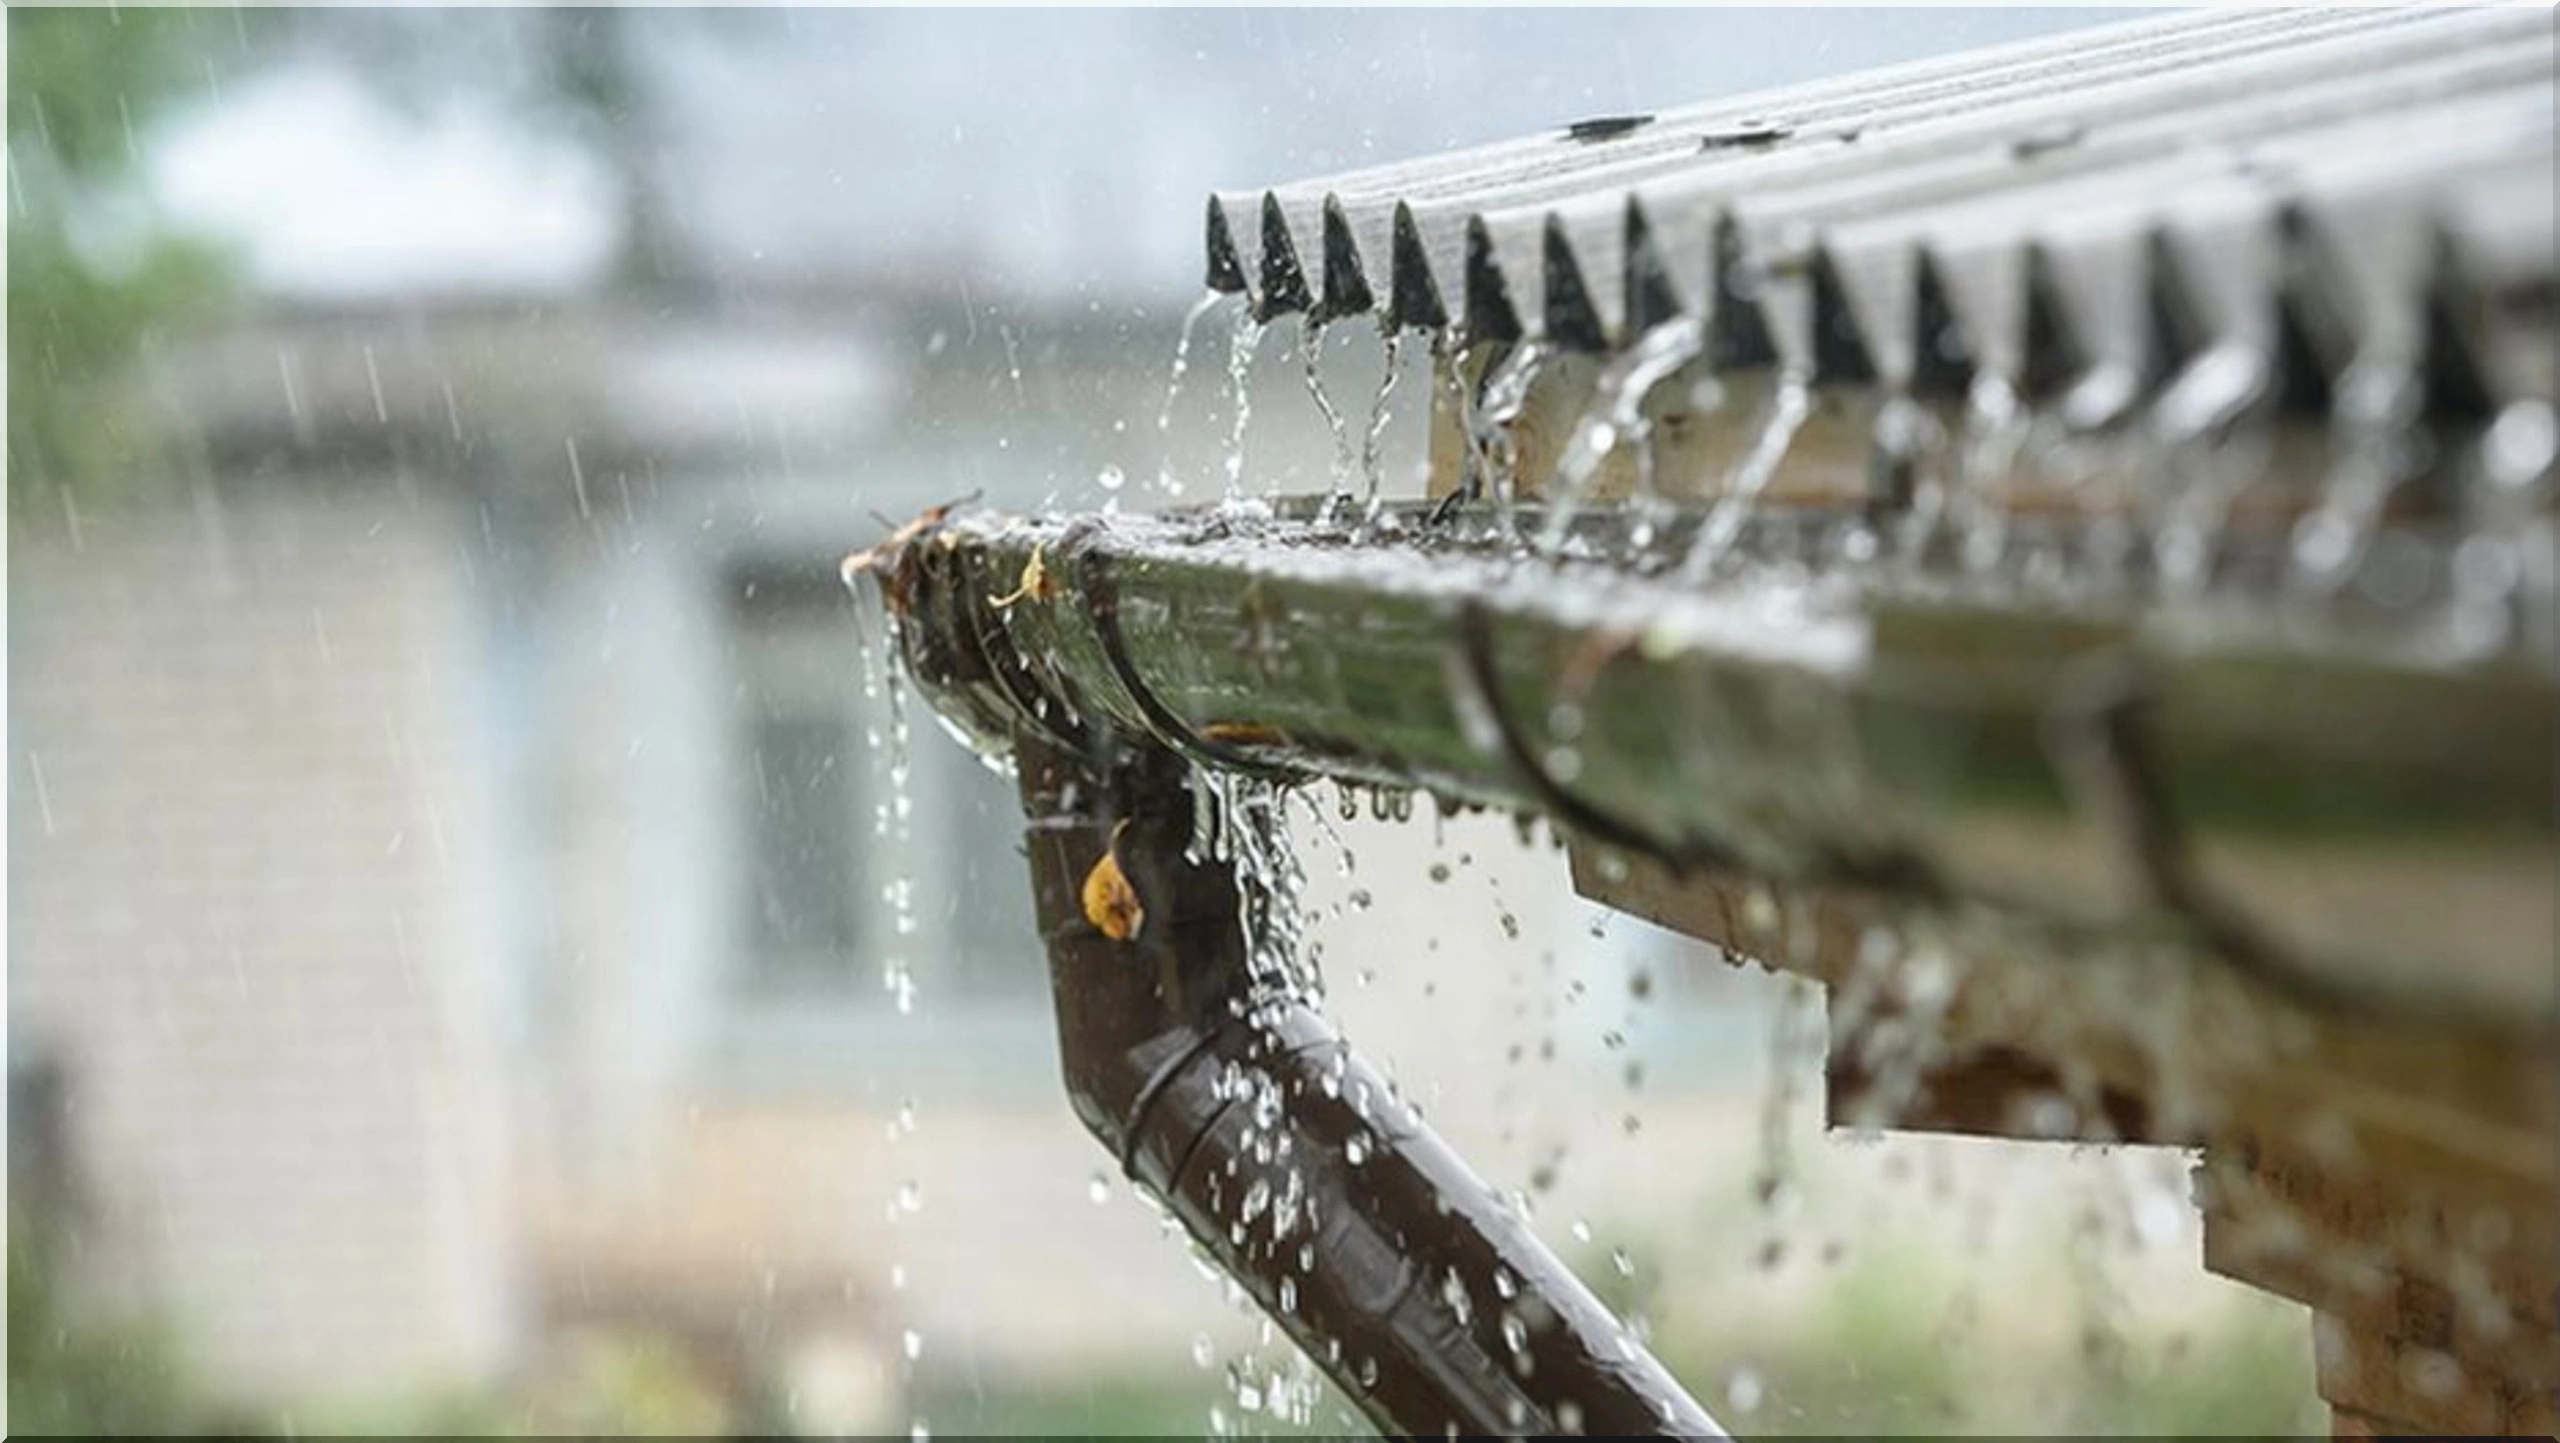
Rainwater represents the most underutilized asset on your property. Every time a storm passes, thousands of gallons of soft, nutrient-rich water pour off your shingles and into the sewer. For the gardener or the budget-conscious homeowner, this is more than a missed opportunity; it is a waste of a superior resource. Municipal water undergoes heavy processing with chlorine and fluoride, chemicals designed for sanitation rather than soil health. In contrast, rain offers a slightly acidic pH and a boost of organic nitrogen that acts as a natural tonic for your landscape.
Transitioning to a residential rainwater system allows you to take control of your utility costs while providing your plants with the exact hydration they evolved to use.
The Mechanics of a Productive Catchment System
A successful setup relies on more than a plastic drum placed under a pipe. To maximize your yield, you must treat your home as a collection engine. The efficiency of your rainwater harvesting depends on three primary factors: surface area, conveyance, and storage capacity.
Analyzing Your Roof Potential
Your roof is your primary collection tool. Most standard roofing materials, including asphalt shingles, metal, and tile, are suitable for irrigation collection. On average, a 1,000-square-foot roof sheds roughly 623 gallons (about 2,358 liters) of water for every inch of rainfall. Even a modest garage or a backyard shed can generate enough volume to sustain a vegetable garden through a dry month.
Optimizing Gutter Flow
Gutters and downspouts serve as the veins of your system. To maintain high water quality, keep these channels free of organic rot. Installing high-quality mesh guards prevents the buildup of leaves and twigs, ensuring that the water reaches your storage tanks instead of spilling over the sides of your house and damaging your foundation.
Essential Components for Water Quality
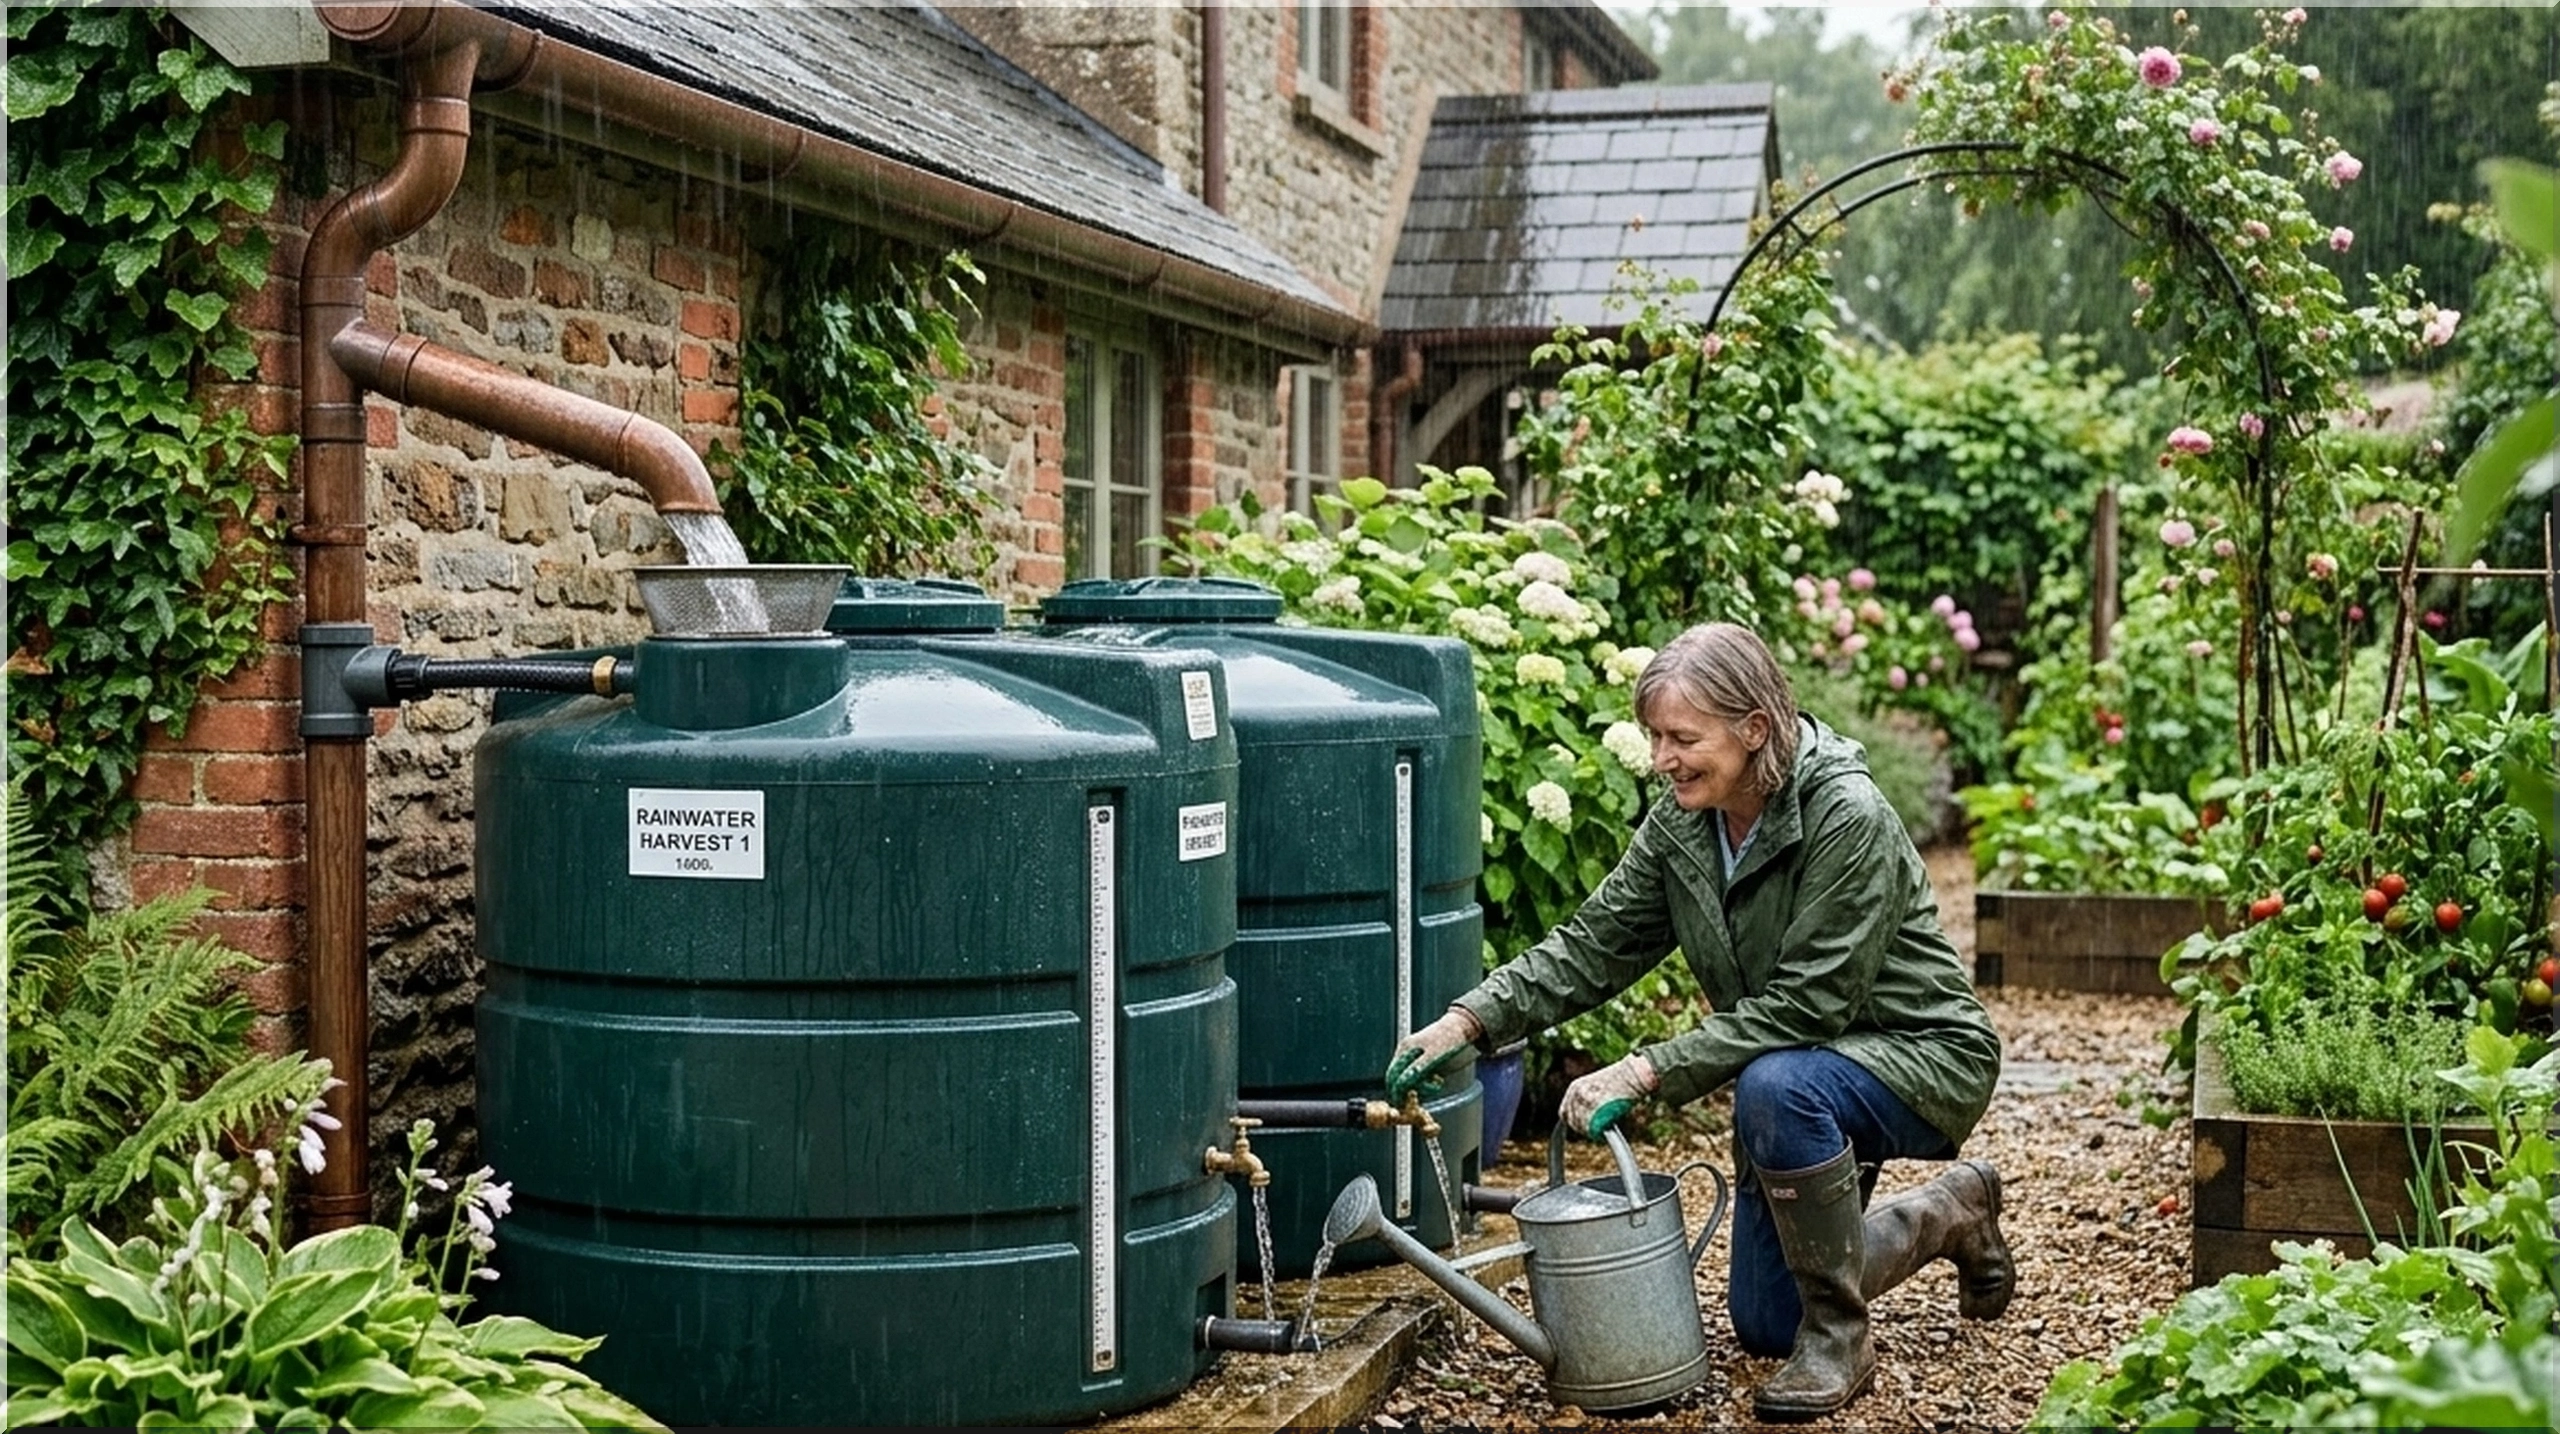
If you store water improperly, it quickly degrades. A professional-grade rainwater collection system utilizes several layers of protection to ensure the water remains clear and odorless.
- First Flush Diverters: These simple PVC chambers take the initial wash of water—the part containing roof dust and bird droppings—and move it away from the tank. Once the chamber fills, the cleaner water flows into your main storage.
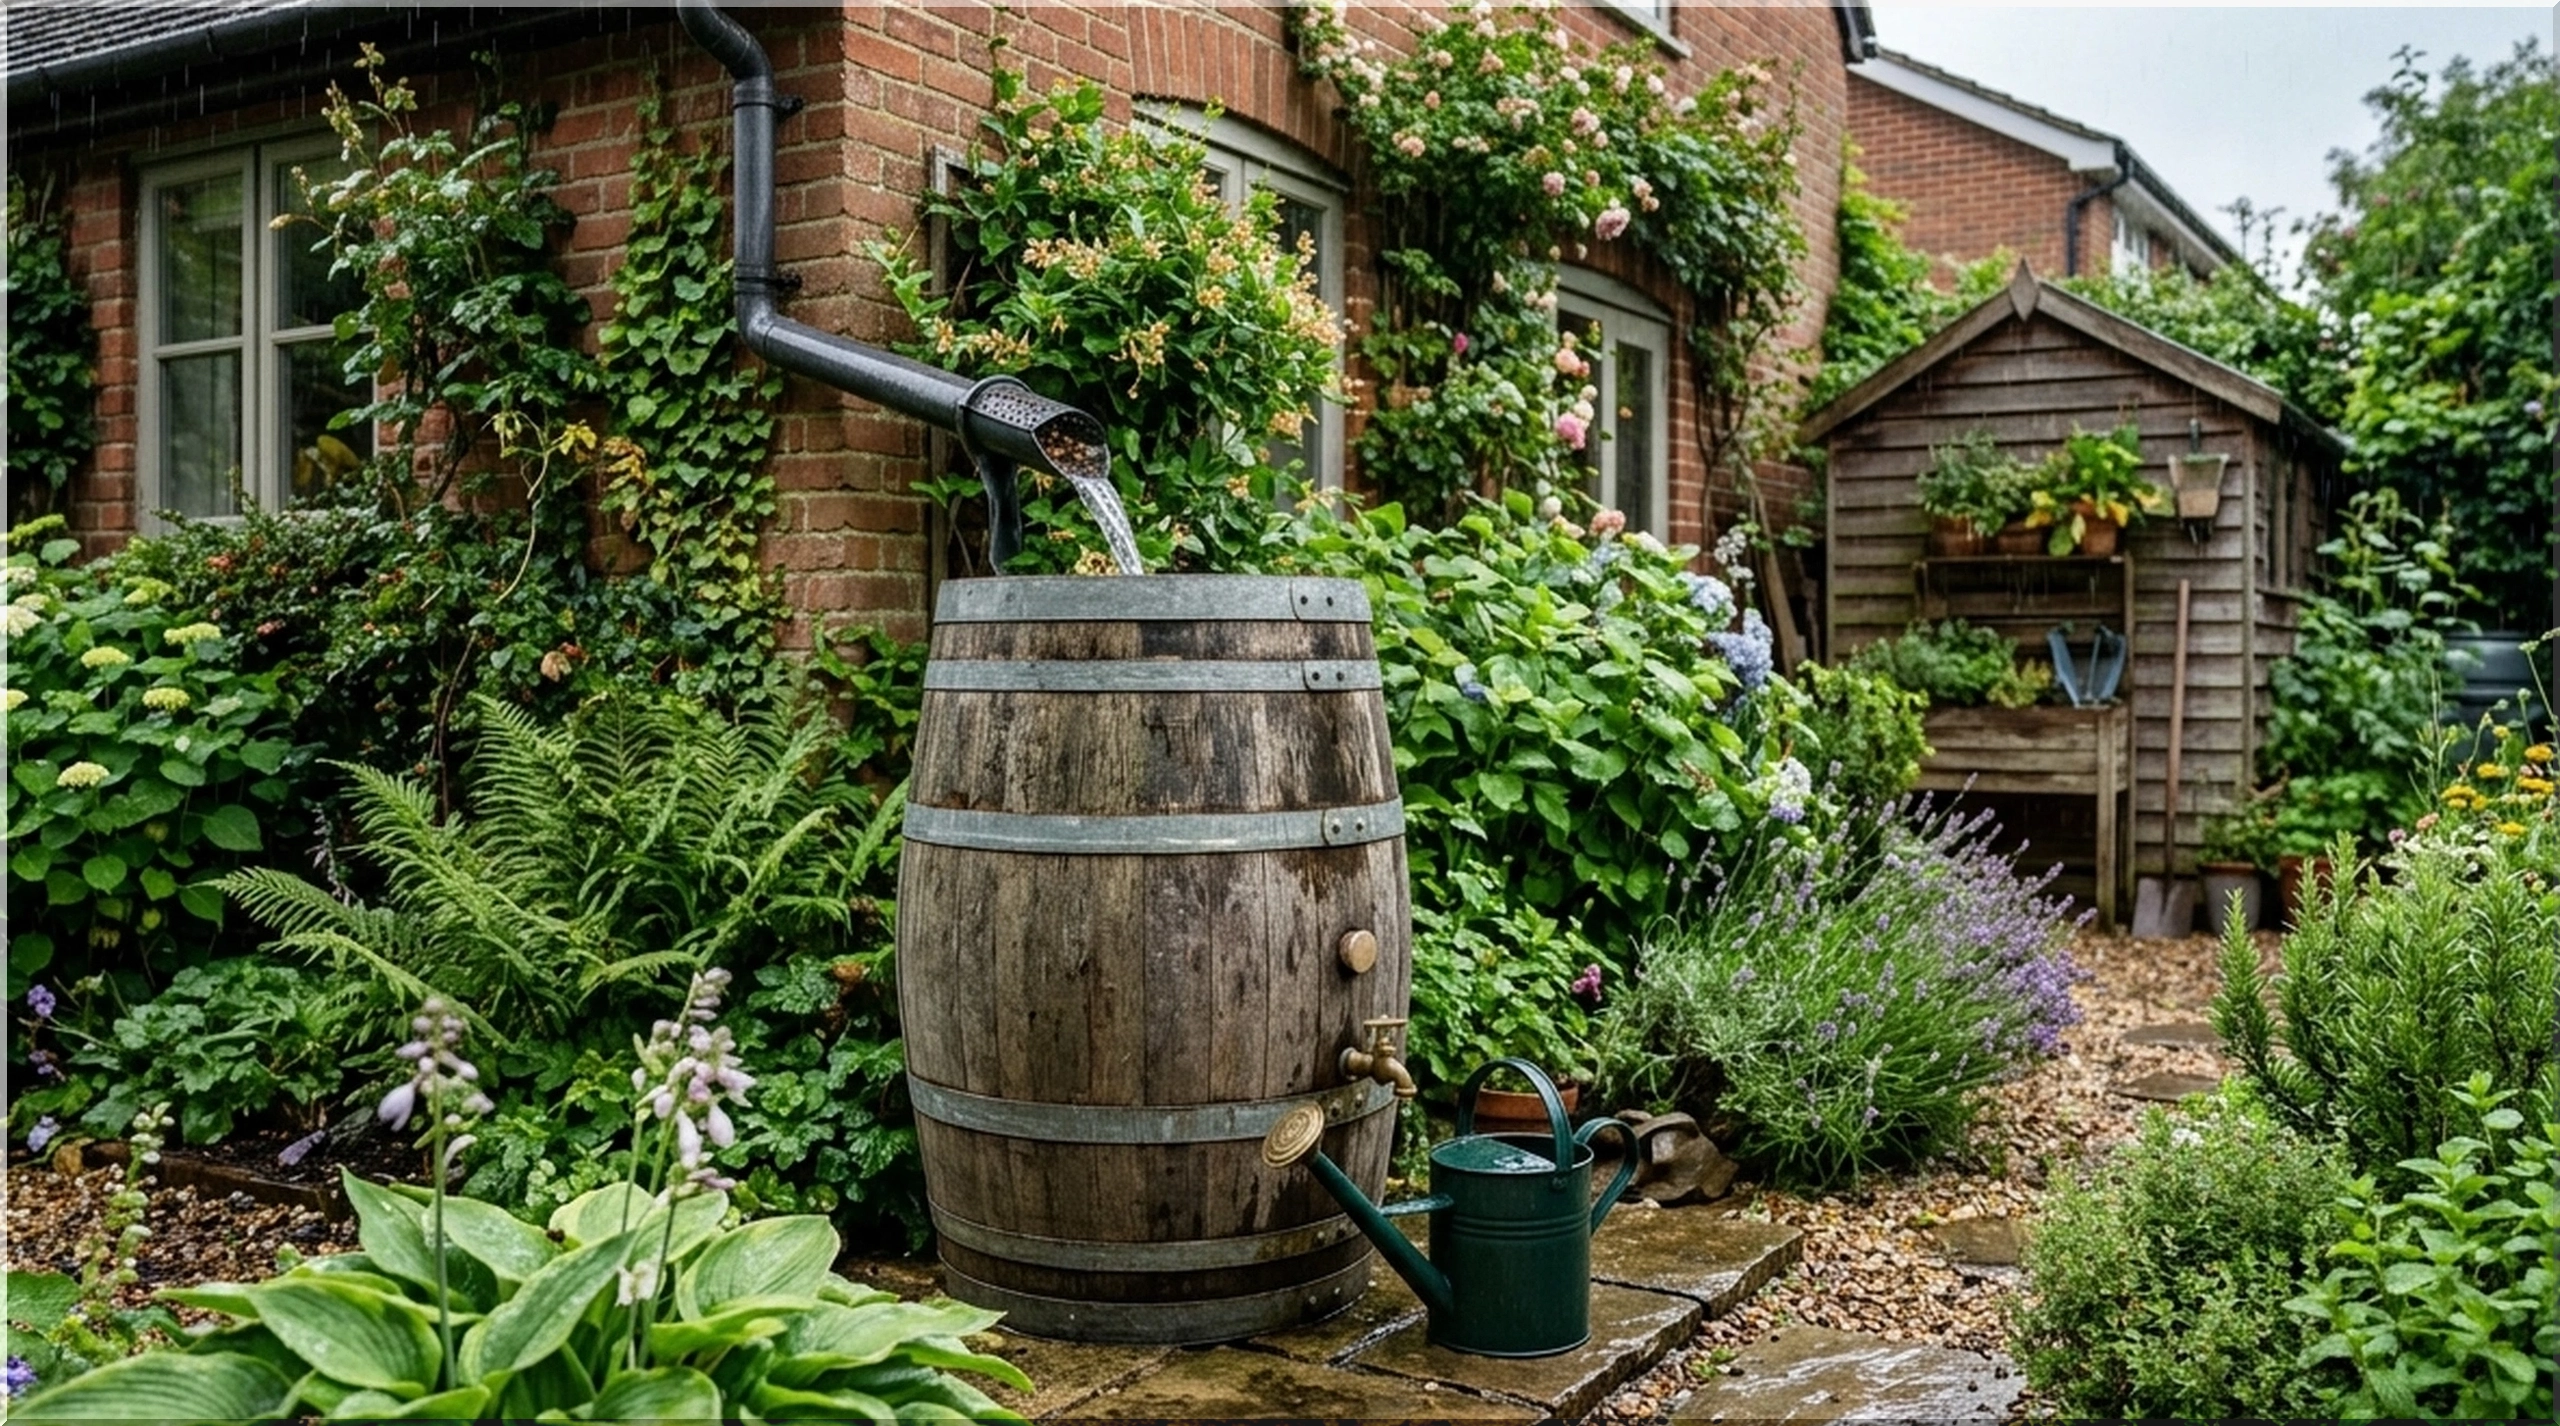
- Fine Mesh Pre-Filtration: A screen at the tank inlet keeps mosquitoes out and prevents small debris from clogging your pumps or hoses.
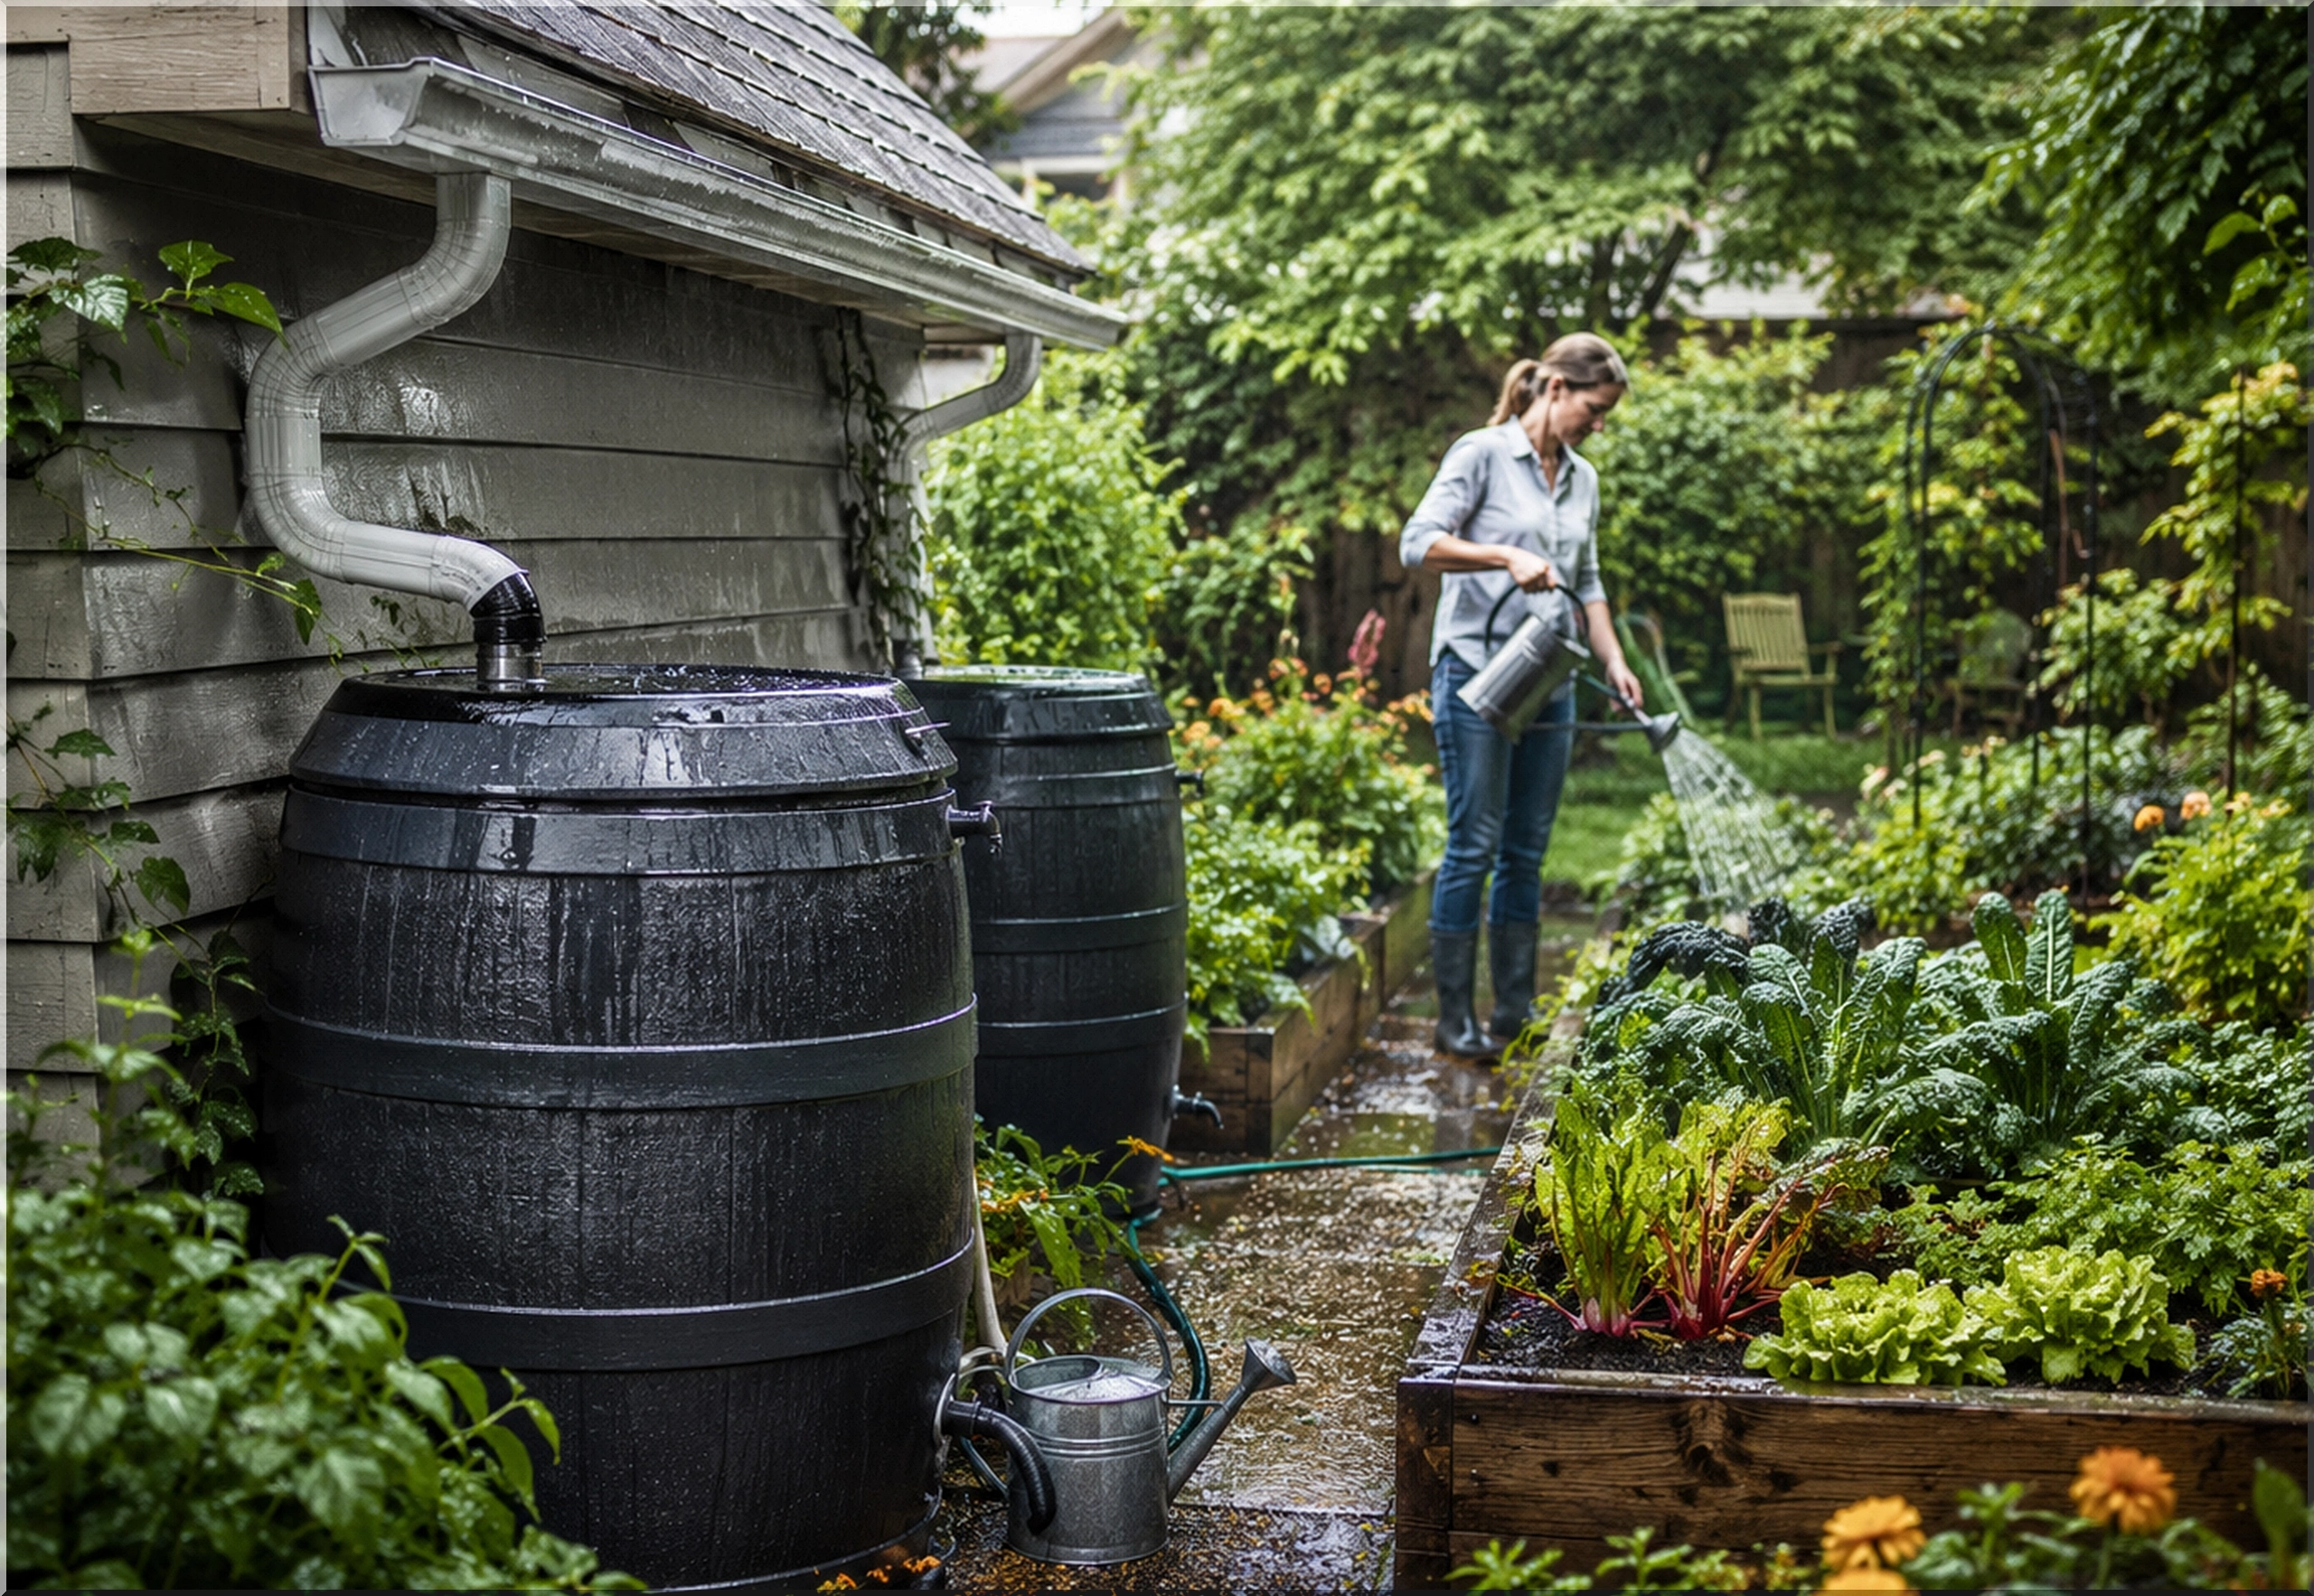
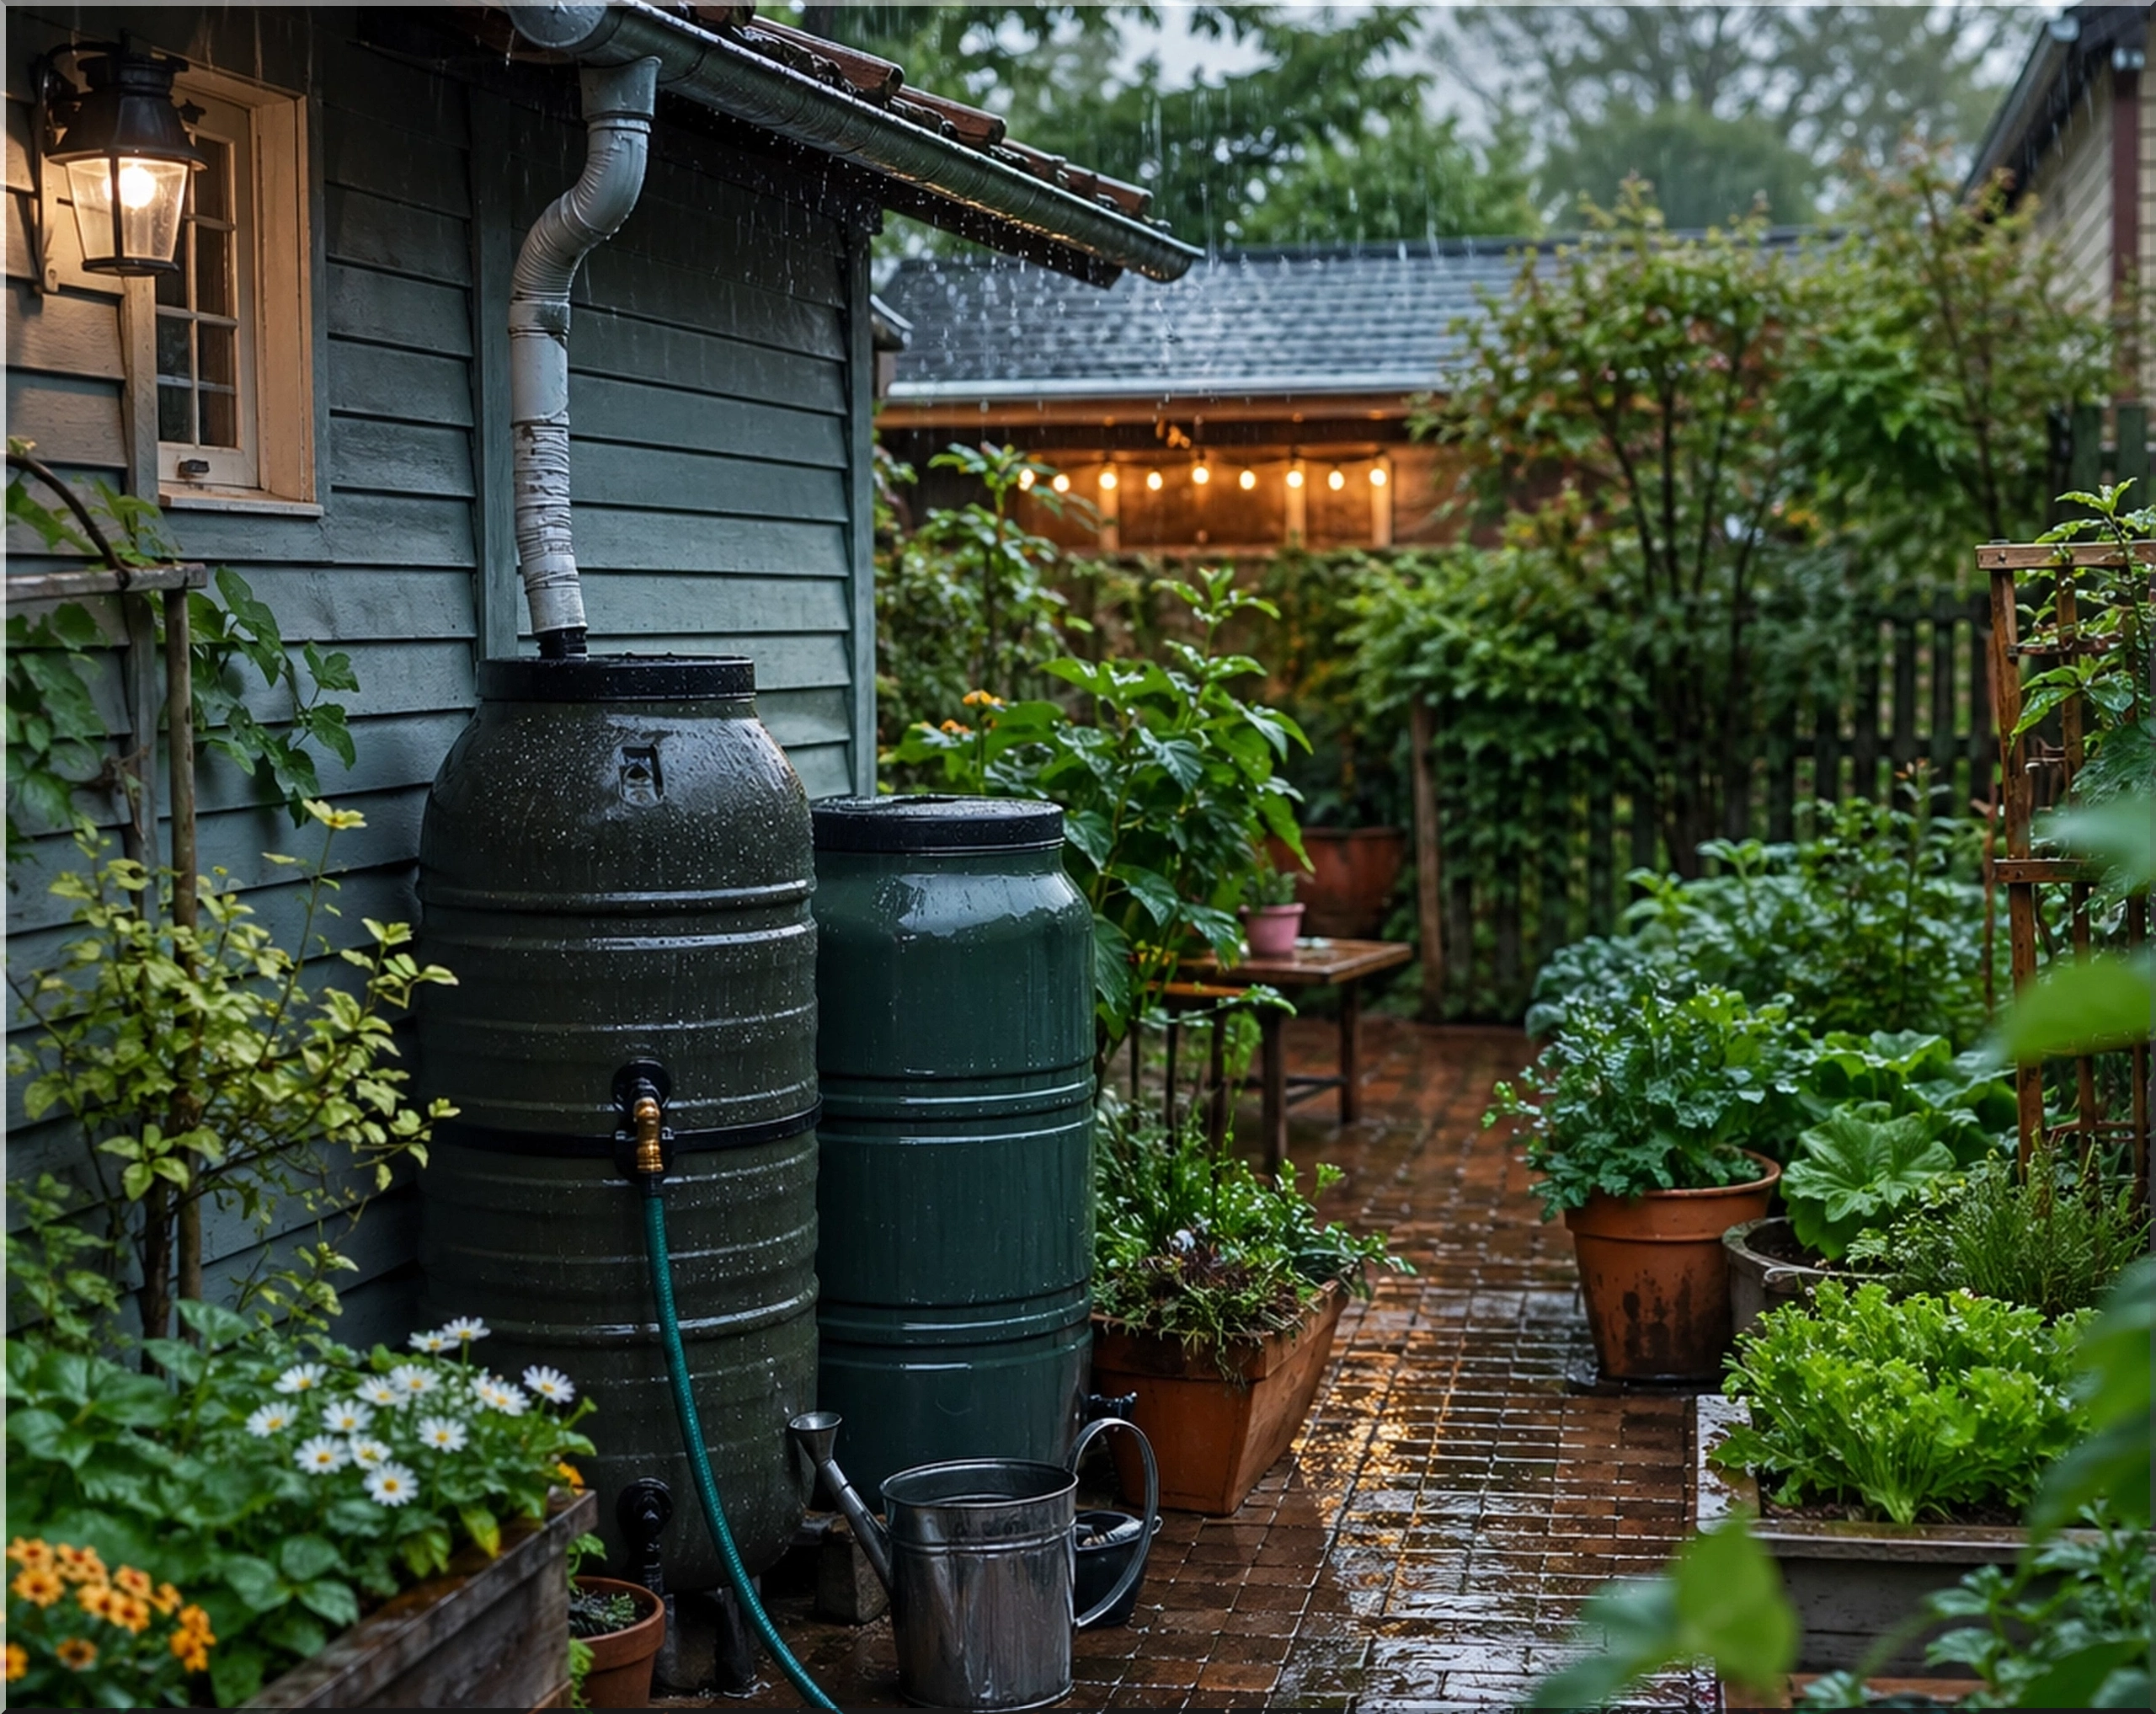
- Opaque Storage: Algae requires light to grow. High-quality rain barrels are made from UV-resistant, dark-colored plastics or metal to keep the interior in total darkness.
- Inlet Calmness: A proper system feeds water into the bottom of the tank to avoid stirring up any fine sediment that has settled, keeping the exit water as clean as possible.
Comparing Storage and Distribution Methods
Choosing the right hardware depends on your available space and your total irrigation needs. While a single barrel is a great entry point, larger properties may require a more integrated approach.
| Storage Method | Ideal Application | Capacity Range | Advantages |
|---|---|---|---|
| Standard Rain Barrel | Urban patios or small beds | 50–80 Gallons | Low cost and easy setup |
| Modular Tank Array | Large vegetable gardens | 200–500 Gallons | Scalable and space-efficient |
| Slimline Cisterns | Side yards and narrow passages | 300–800 Gallons | Minimal footprint |
| Below-Ground Tanks | Full-scale landscape irrigation | 1,000+ Gallons | Maximum storage; zero visual impact |
Maximizing Pressure and Distribution
Gravity is your primary power source in a basic setup. To get the most out of your stored rainwater, you need to understand the physics of water pressure. For every foot you raise your tank off the ground, you gain roughly 0.43 pounds per square inch (psi) of pressure.
Elevated Platforms
Placing your barrels on a sturdy base of cinder blocks or a timber frame does more than help with drainage. It allows you to use gravity-fed drip irrigation effectively. This method delivers water slowly to the root zone, reducing evaporation and ensuring your saved water lasts as long as possible.
Passive Harvesting Techniques
Storage tanks are not the only way to save rain. Passive rainwater harvesting involves re-contouring your yard to direct runoff toward planting zones. By using swales—shallow, level-bottomed trenches filled with mulch or gravel—you can trap water in the soil. This effectively turns your entire yard into a massive, underground sponge, reducing the need for manual watering.
Maintenance for Long-Term Reliability
A neglected system becomes a liability. Follow a strict seasonal schedule to keep your hardware in top condition and protect your home.
Monthly Inspections
Check the intake screens for leaf buildup. If the screen is blocked, water will bypass the tank entirely. Ensure the overflow pipe is clear and directed away from your home to prevent localized flooding or basement dampness.
Annual Deep Cleaning
Once a year, typically in late autumn, drain your tanks and scrub the interior to remove any fine silt. This is the best time to check valves and seals for wear. If you live in a climate where temperatures drop below freezing, you must drain the system and leave the valves open to prevent ice from cracking the plastic or damaging the brass fittings.
Turning Runoff Into a Sustainable Strategy
Relying on the grid for every gallon of garden water is an outdated approach. By installing a rainwater catchment system, you insulate your landscape against water restrictions and rising costs. You also play a role in reducing the volume of stormwater that causes erosion and pollution in local waterways.
The transition starts with a single downspout. As you see the health of your soil improve and your water meter slow down, the value of harvesting the rain becomes undeniable. It is a practical, logical step toward a more resilient and self-sufficient home.
Practical Next Steps
- Calculate your yield: Multiply your roof square footage by 0.6 to see how many gallons you can collect in a one-inch rain.
- Select your site: Identify the downspout closest to your highest-need garden beds to minimize the length of hose required.
- Level the ground: Create a stable, compacted base of gravel or pavers before placing any storage tanks.
- Start small: Begin with a high-quality 50-gallon barrel and add modular units as your needs grow.

- Log in to post comments